Missouri State University

Skip to content Skip to navigation
a b c d e f g h i j k l m n o p q r s t u v w x y z

Web Strategy and Development Blog

  • Web Strategy and Development
  • Web Support
  • @msuweb

Accessibility series: descriptive links

April 20, 2017 by Mary Chiles

Screenshot of example of descriptive links

Welcome to our series of posts entitled: how to make your website accessible! So far we have discussed the ethical and legal reasoning behind accessibility, how to write alternative text, and how to check color contrast.

In today’s post we discuss writing descriptive links. When you visit a website, do you read every word? Generally readers scan sites for what sticks out to them. Which of these following links makes you want to keep reading?

Click here to learn about Boomer

or:

We’ve just uncovered Boomer’s birth story

Descriptive links entice the reader to learn more. However, if you write “learn more” or “click here” for each link, readers will grow bored and stop following the links. Screen readers translate information into synthesized speech. These screen readers, like people, “jump” from link to link to read information in a logical order.

Tips for accessibility

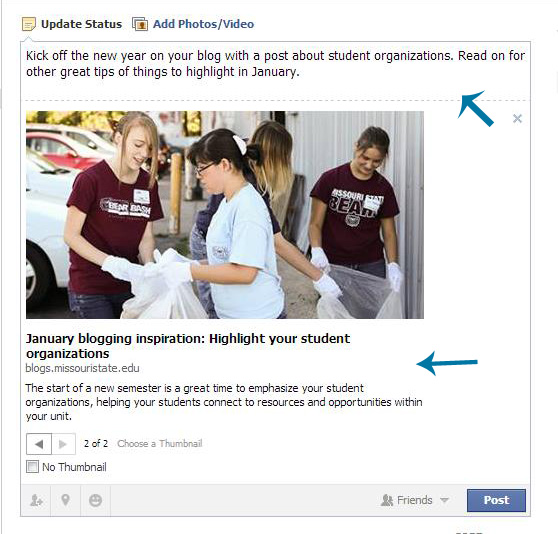
  • Write descriptive links with important information first.
  • There is no length limit, though you should avoid paragraph-long links.
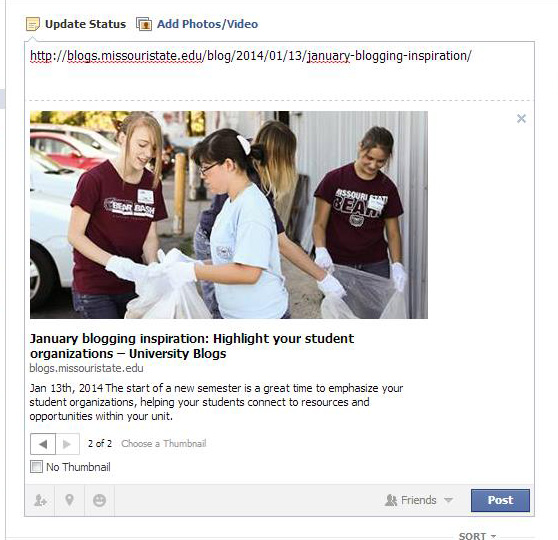
  • Avoid using URLs as links when the URL is a collection of letters and characters.

How to add links

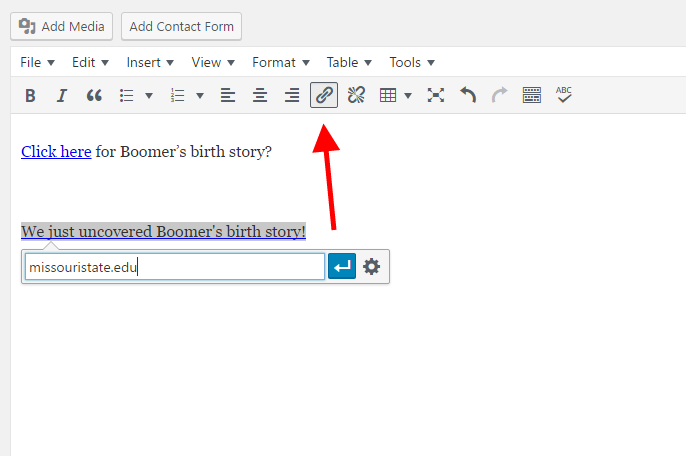
If you are using WordPress, refer to the above Boomer example. Attach link by highlighting the phrase:

Screenshot of example of descriptive links

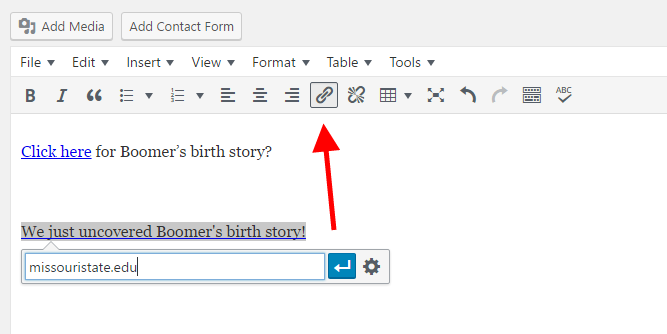
Click on the chain icon and type the address. The link will appear in blue.

If you are working with Web Press, this video from the Missouri State Web Help Desk shows how to link to webpages.
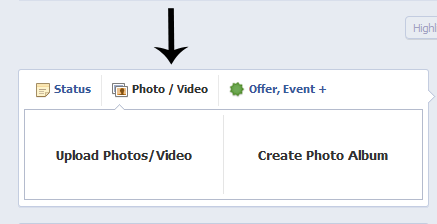
Filed Under: Accessibility, Web Press, WordPress blogs Tagged With: Accessibility, descriptive links, how-to, Web Press, WordPress

Spreading the word: How-to tweet and make a Facebook post

February 27, 2014 by

Twitter graphic

As the grandfather of social media, your blog is an excellent content source for your social media accounts. Blogs provide needed content and context for your posts, while social media expands your blog post’s reach.

But, how do you best share that content? To get the most bang for your blog post, follow the steps below to optimize your blog’s content for social media sharing.

Twitter postTweeting your post

Sharing your blog post on Twitter involves five simple steps:

  1. Log in to your Twitter account.
  2. Write a catchy description of your post. Your post’s title is a great place to start.
  3. Copy the URL of your post. Watch your character count!
  4. Add an appropriate hashtag. Review our list of Missouri State tags.
  5. Click Tweet when done.

Posting a link on Facebook

Sharing your post on Facebook allows for a little more customization.

  1. Navigate to the page you want to share the post from.
  2. Copy and paste the blog post’s URL into the Status box. Facebook will automatically provide a thumbnail your post.
    Facebook blog post 1
  3. Edit the thumbnail description, removing extra text in the headline and cleaning up the excerpt.
  4. Remove the blog’s URL from where you originally pasted it. Don’t worry – the post is still linked via the thumbnail headline.
  5. Type a teaser description in the status box.
    Facebook blog post 2
  6. Click post.

Posting a photo on Facebook

Sharing a relevant photo is a powerful way for your content to stand out on Facebook. Pairing a photo with a link to an upcoming event, program or webpage can increase your Facebook page’s engagement stats. Get your photo ready for Facebook by reviewing its photo size recommendations.

Follow these steps to post a photo/link combination:

  1. Navigate to the page you want to share the post from.
  2. Click the Photo/Video option above the status bar.
  3. Select Upload Photos/Video.
    Upload photo/video option in Facebook
  4. Choose desired photo from the File Upload box and click Open. the photo will appear as a thumbnail on your page.
    Adding a photo to Facebook
  5. Type a caption into the status box.
  6. Copy and paste the appropriate URL after your caption. Links should provide your follower with additional information, registration details, etc.
    Photo caption for Facebook
  7. Click post.

Tip: Facebook allows you to edit the caption associated with a photo after you publish.

Filed Under: Social media, web strategy and development, WordPress blogs Tagged With: Blogs, content, facebook, how-to, Social Media, social tips, Twitter, WordPress

Subscribe

Enter your email address to subscribe to this blog and receive notifications of new posts by email.

Follow @MSUWeb

My Tweets

Calendar

  • Complete Calendar

Categories

  • Accessibility
  • brand
  • email marketing
  • Mobile
  • News
  • Omni CMS
  • Redesign
    • Academic websites
    • Web redesign 2015
  • Social media
    • Social media kit
  • template
    • updates
  • Training
  • Video
  • Web Press
  • web strategy and development
    • Technical
  • Web Support
  • WordPress blogs

Meta

  • Log in
  • Entries feed
  • Comments feed
  • WordPress.org

Connect with web strategy and development

  • Twitter

Make your Missouri statementMake your Missouri statement
  • Last Modified: July 28, 2014
  • Accessibility
  • Disclaimer
  • Disclosures
  • EO/AA/M/F/Veterans/Disability/Sexual Orientation/Gender Identity
  • © 2013 Board of Governors, Missouri State University
  • Contact Information
 

Loading Comments...